


KoiKatsu custom blushing @ Studio

[My Blushing 1 and 2]
Noob tutorial.
I usually edit these 2 bones only
Face > cf_m_face_00
Body > cf_m_body
For Blushing. That is overlay texture – overtex2.

cf_m_face_00 reference
overtex1 > lips
overtex2 > blushing
overtex3 > eye shadow
You don’t need to remember that.
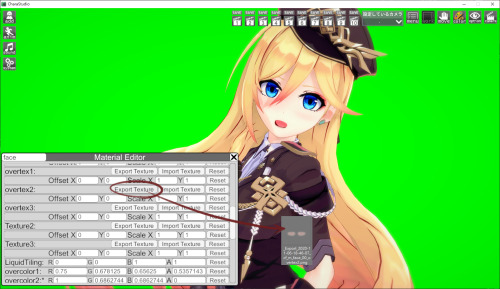
For safety edit. You always need to export texture for the backup. So you would know what it is when you exported.
(“Reset” next to “Important Texture” usually fail to reset)
Applied. And it usually nothing happened. As Blushing default value is 0.

You can change it at default function or material editor (not both ; it would overwrite each other)
So change “overcolor2” value.
RGB > Color adjustment
A > Alpha adjustment
You can custom your blushing now.
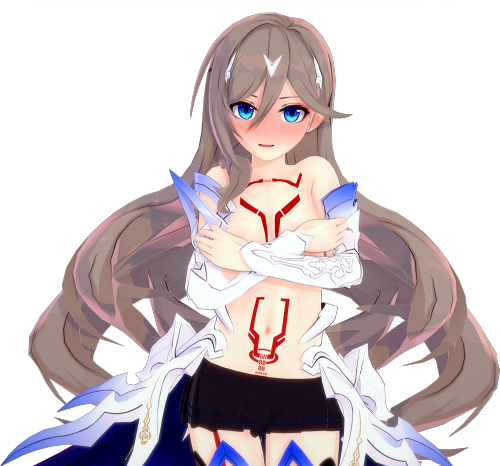
For body
cf_m_body reference
overtex1 > nipples
overtex2 > public hair
overtex3 > boobs tatoo (?)
Temporary you can’t change overlay liked face now.
As you know overtex2 > public hair. You can simply import an blank png into overtex2 to hide public hair instead of edit character in maker.
or you can simply export MainTex, edit it to get what you wanted.
This is OO stickers for sample.
If you edit MainTex. You need to get the Body UV.
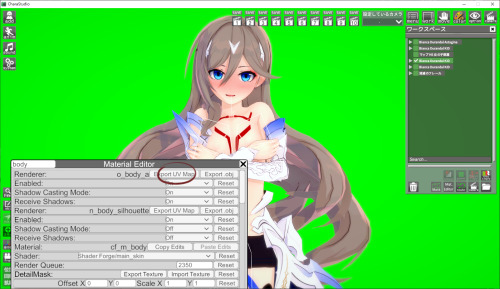
Then resize your exported MainTex into 4096x4096 (Same size as Body UV).

Put together and do your editing.
And… remember turn off the UV before you save the texture.
If you enjoy my work, supporting me on ★★ FanBox : wingr.fanbox.cc ★★
Keyword:
No comments:
Post a Comment